Epoxy flakes garage floor coating has become increasingly popular for homeowners who want to improve the look of their garages without breaking the bank. It provides great protection from damage due to water, oil spills, and other chemicals commonly found in garages. In addition, with proper preparation and application techniques, anyone can achieve a professional-looking finish without hiring an expensive contractor.
Whether you’re doing it yourself or hiring a professional, this guide will help you understand what is related to epoxying a garage floor with flakes. We’ll also cover choosing the right materials and tools for finishing touches, like sealers and edging strips. So, let’s get started!
Preparation for Epoxy Flakes Garage Floor
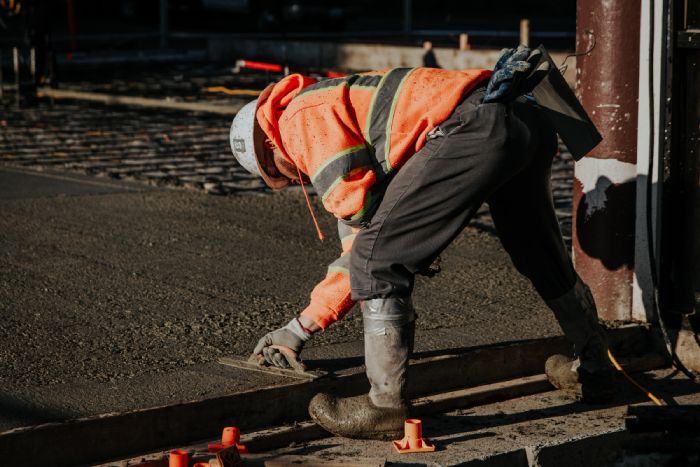
Preparing your garage floor for epoxy, start by cleaning the surface to remove dirt or debris, which will help ensure optimal adhesion. You may need some special tools and supplies, such as wire brushes and acid-based cleaners, to prep the concrete properly. Once clean and dry, you can begin applying primer. Primer helps create an even base for the epoxy, so make sure to use a quality product designed specifically for concrete surfaces.
Mixing and Applying the Epoxy

Mixing the epoxy is critical in applying it to your garage floor. This epoxy resin will not bond properly unless it’s mixed at the right ratio of parts A and B. You’ll want to make sure that you measure out each part carefully, using either a measuring cup or scale, depending on which type of product you’re using. If you do this step right, your epoxy will adhere correctly and last as long as it should.
First, clean the area thoroughly with a degreaser and remove any residual dirt or dust particles that could interfere with adhesion. Next, apply an etching solution if necessary—this helps ensure proper bonding between the concrete substrate and epoxy surface coating. Finally, use a vacuum cleaner to suck up all remaining debris before beginning the application.
Using a paint roller or brush, spread a thin layer of epoxy from one side of the room towards the other; keep overlapping strokes for even coverage throughout. Allow this base coat to dry completely before adding additional layers for durability and protection against wear and tear.
Spreading the Flakes

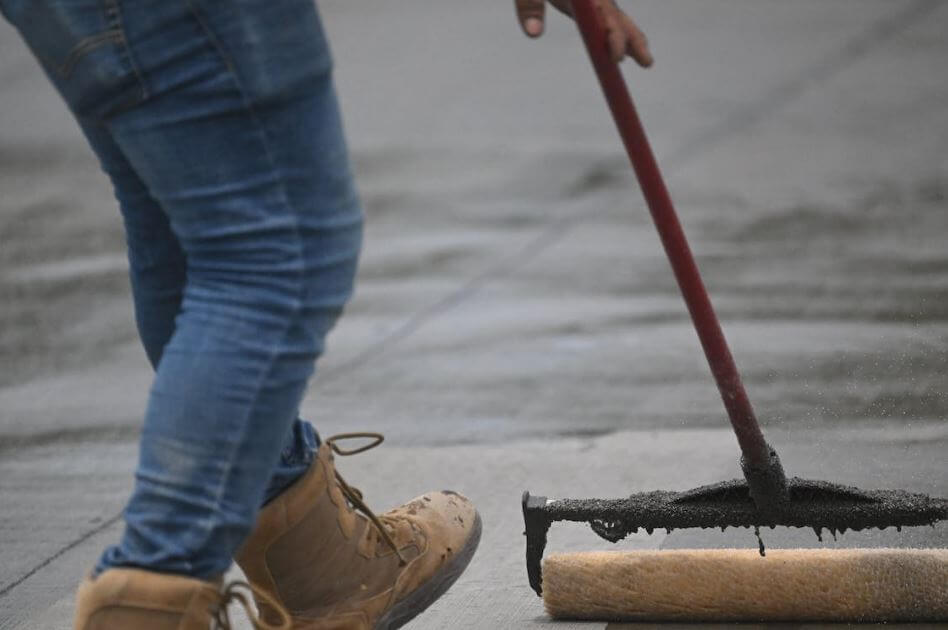
The next step in epoxying a garage floor is spreading the flakes. This will give your floor a unique and personalized look. The flakes come in many colors and sizes, so choose the one that best fits your needs. Applying them is easy; just make sure to spread an even coverage of flakes over the entire surface. To ensure good flake density, use more than you think you need – it’s better to have too much than not enough! Next, use a squeegee or broom handle to distribute the flakes across the area being coated evenly.
When applying the flakes, press down on them firmly before moving on to another area. Doing this ensures they properly adhere to the base coat of epoxy primer. When finished, sweep away any excess material from around the edges and corners.
Sealing the Floor
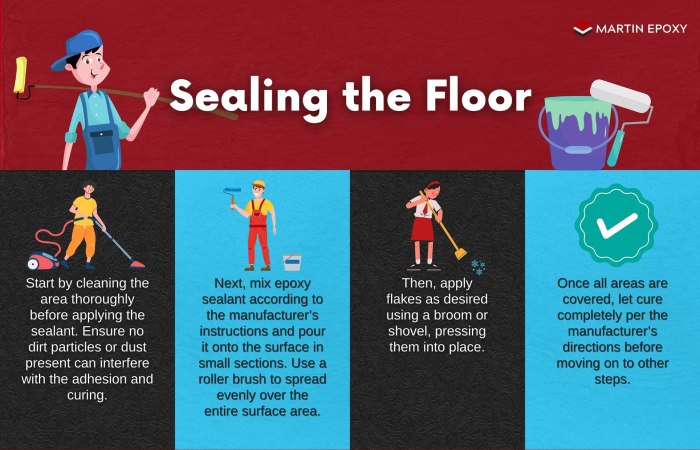
Applying an epoxy sealant is essential for your garage floor’s long-term protection and durability. Start by cleaning the area thoroughly before applying the sealant. Ensure no dirt particles or dust present can interfere with the adhesion and curing.
Next, mix epoxy sealant according to the manufacturer’s instructions and pour it onto the surface in small sections. Use a roller brush to spread evenly over the entire surface area. Then apply flakes as desired using a broom or shovel, pressing them into place. Once all areas are covered, let cure completely per the manufacturer’s directions before moving on to other steps.
Cleanup and Maintenance
Once you have finished the epoxy installation process, there are still a few more steps to ensure your floor looks perfect and remains in good condition. Cleaning and maintaining your garage floor is essential for proper epoxy care.

The first step in cleaning up after an epoxy installation is removing any excess or spilled product from the surface. This should be done with a damp cloth before it dries and hardens into a residue. For stubborn areas, try rubbing alcohol or acetone on a clean rag to remove any remaining debris from the surface. Once the loose material has been removed, use a vacuum cleaner to pick up any dust particles left behind by sanding or other preparation activities before coating application.
To keep your newly installed epoxy flakes garage floor looking its best, sweep and mop periodically using only mild soap and water solutions. Avoid acidic cleaners like vinegar or lemon juice because they can damage your epoxy finish flakes and binder components. The key here is doing it sparingly; it can cause scratches which could shorten your floor coating system’s lifespan.
Troubleshooting Common Problems
The most common problems when dealing with epoxy flakes garage floor are bubbling, yellowing, peeling, and poor adhesion. To ensure a successful job in the long run, troubleshooting these problems should be done as soon as they arise.

If bubbles appear on your newly applied epoxy surface, this is caused by air pockets getting trapped beneath the coating during application. This can happen if not enough pressure is needed while mixing or applying the solution. To fix this issue, lightly tap the affected area of the floor with a rubber mallet or hammer and continue rolling over it until all air pockets have been released.
Yellowing of the epoxy flakes garage floor may also occur due to oxidation from exposure to sunlight or other environmental elements such as humidity and moisture. If this happens, you will need to sand down any areas where discoloration has occurred and reapply a fresh layer of epoxy using proper ventilation and protective gear designed for working with hazardous materials. Additionally, use only high-quality products designed for outdoor applications so they don’t fade quickly in UV light.
In cases where peeling occurs due to improper preparation or application of the solution, simply scrape away any loose pieces of epoxy before recoating the area with a new layer, following instructions provided by the product manufacturer.
Conclusion
Epoxy flakes garage floor may seem daunting, but it’s quite simple. If you take the time to properly prepare your surface and follow the instructions closely when mixing and applying the epoxy, you’ll find that this project is well worth the effort. Once you’ve spread out your flakes evenly, sealing the floor will ensure they remain in place for years.
At Martin Epoxy, we offer cost-effective epoxy flakes garage floor installation to help extend your floor’s life while ensuring it looks its best. Contact us today.