Applying epoxy flake flooring is a great way to create a visually stunning and highly durable surface. However, from prepping and cleaning the area to deciding which flake size and pattern are right for your space, each step must be completed with precision to ensure an optimal outcome. Whether you’re looking for a DIY project or want professional help for larger-scale installations, understanding how to apply flakes properly will make all the difference in achieving long-lasting results.
In this article, I’ll provide detailed instructions on how to apply flakes according to industry standards so that you can achieve beautiful floors that last! So keep reading if you’re ready to get started on your epoxy flake flooring project.
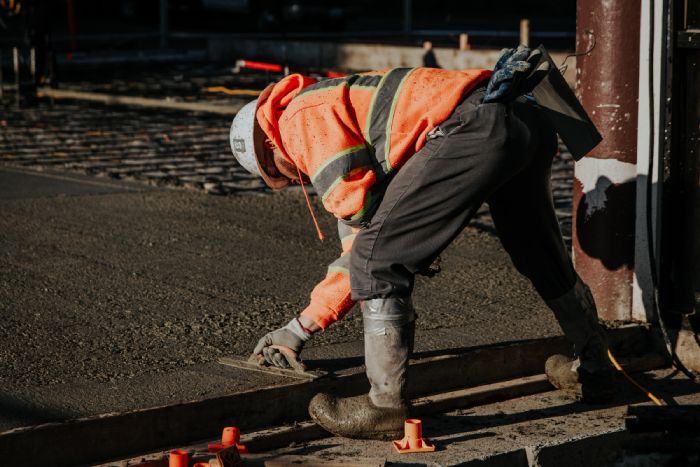
Preparation
Proper floor preparation is essential for a successful epoxy flake flooring installation. Before beginning, the surface area is thoroughly cleaned, and debris has been scraped away. Cleaning supplies like degreasers, detergents, and solvents can eliminate dirt or grime. Once the surface has been cleaned and dried, you’ll be ready to gather tools and materials.
Tools Required
You’ll need the right tools to apply epoxy flake flooring. To start with, you’ll need a bucket of floor epoxy and stir sticks for mixing it up. You’ll also want gloves, goggles, and a mask – safety first! Once your area is prepped and ready to go, you can add flakes. A trowel or squeegee works great for spreading them evenly over the surface. Lastly, don’t forget the broom – it’s essential for sweeping off any excess flakes once they’re applied.
Mixing The Epoxy

Mixing the epoxy flake flooring is critical in ensuring that your floor has an even, strong finish. However, the mixing process requires specific steps and ratios to be followed correctly. First, it’s important to understand the ratio of resin and hardener that must be used for the best results. This can vary depending on the type of epoxy flake flooring you’re using, so make sure you consult with your manufacturer before beginning.
Once you know what ratio should be used for your epoxy, carefully measure each component into separate containers. Then slowly combine them by pouring one container into another while stirring constantly. It’s essential that these components are mixed thoroughly until they become uniform in color and texture – this ensures there will be no weak spots once applied to the floor.
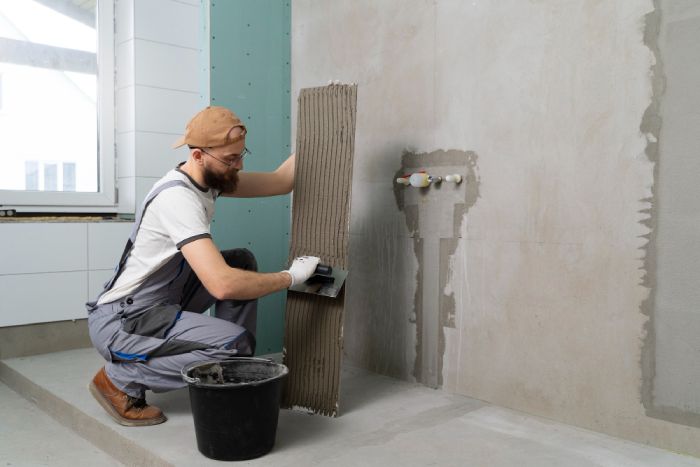
Applying The Epoxy
Applying epoxy to the flakes floor is important in creating a durable and attractive finished product. When preparing your floor for the application of epoxy, several steps must be taken to ensure success. Proper preparation includes cleaning the surface thoroughly, repairing any cracks or damage, and priming the surface with an appropriate sealer.
The first step in applying epoxy is to mix the two-part solution according to package instructions. Mixing enough material for one complete coat at a time is important to save all products by having unmixable portions left over. After mixing, use a roller or brush to spread an even layer of the epoxy onto the prepared surface. Be sure to overlap each stroke slightly as you go and stay away from the edges until all other surfaces have been covered.
For best results, avoid walking on or touching cured areas while they are still curing. With proper preparation and careful application techniques, you’ll be well on your way toward achieving a beautiful-looking finish with long-lasting durability!
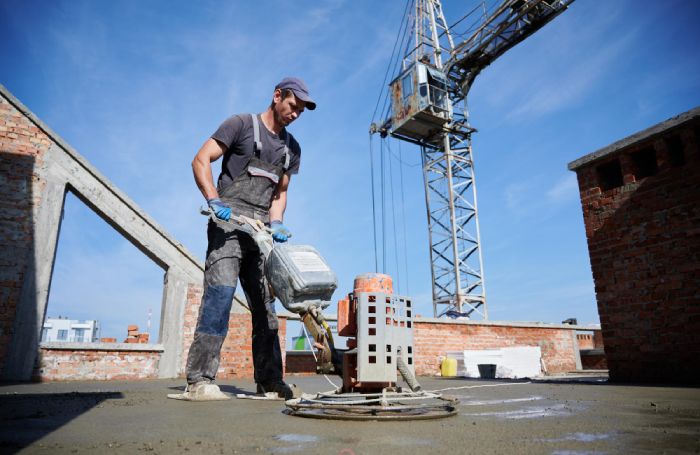
Adding The Flakes
Once the epoxy has been applied, adding flakes is time. Flakes are an important element in creating a unique flooring surface. They come in all colors and textures to customize your project. Here is how to apply them:
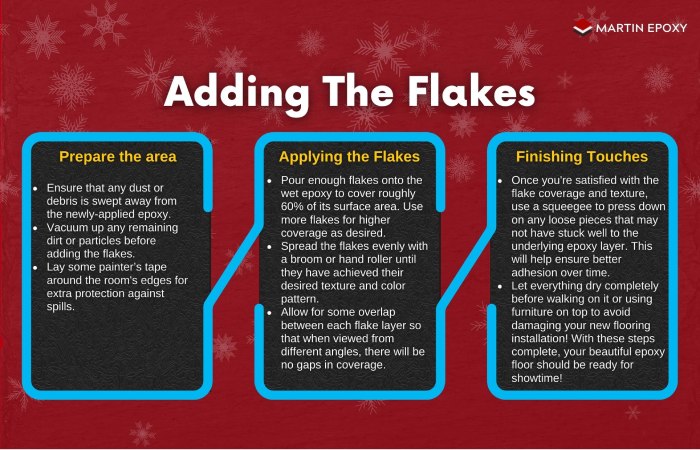
- Prepare the area:
- Make sure that any dust or debris is swept away from the newly-applied epoxy.
- Vacuum up any remaining dirt or particles before adding the flakes.
- Lay down some painter’s tape around the room’s edges for extra protection against spills.
- Applying the Flakes:
- Pour enough flakes onto the wet epoxy to cover roughly 60% of its surface area. Use more flakes for higher coverage as desired.
- Spread the flakes evenly with a broom or hand roller until they have achieved their desired texture and color pattern.
- Allow for some overlap between each flake layer so that when viewed from different angles, there will be no gaps in coverage.
- Finishing Touches:
- Once you’re satisfied with the flake coverage and texture, use a squeegee to press down on any loose pieces that may not have stuck well to the underlying epoxy layer. This will help ensure better adhesion over time.
- Let everything dry completely before walking on it or using furniture on top to avoid damaging your new flooring installation! With these steps complete, your beautiful epoxy floor should be ready for showtime!
Finishing Touches
When it comes to finishing touches, polishing and sealing your epoxy floor is important. This will help protect the surface from wear and tear and create a smooth texture that looks great. Here’s how to get the perfect results:
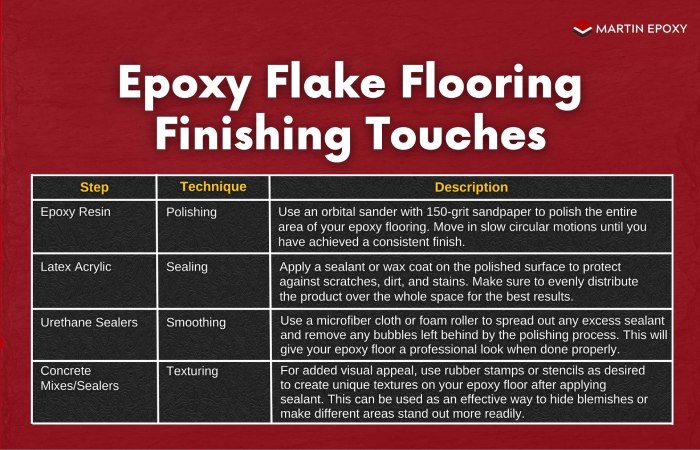
| Step | Technique | Description |
| 1 | Polishing | Use an orbital sander with 150-grit sandpaper to polish the entire area of your epoxy flooring. Move in slow circular motions until you have achieved a consistent finish. |
| 2 | Sealing | Apply a sealant or wax coat on the polished surface to protect against scratches, dirt, and stains. Make sure to evenly distribute the product over the whole space for the best results. |
| 3 | Smoothing | Use a microfiber cloth or foam roller to spread out any excess sealant and remove any bubbles left behind by the polishing process. This will give your epoxy floor a professional look when done properly. |
| 4 | Texturing | For added visual appeal, use rubber stamps or stencils as desired to create unique textures on your epoxy floor after applying sealant. This can be used as an effective way to hide blemishes or make different areas stand out more readily. |
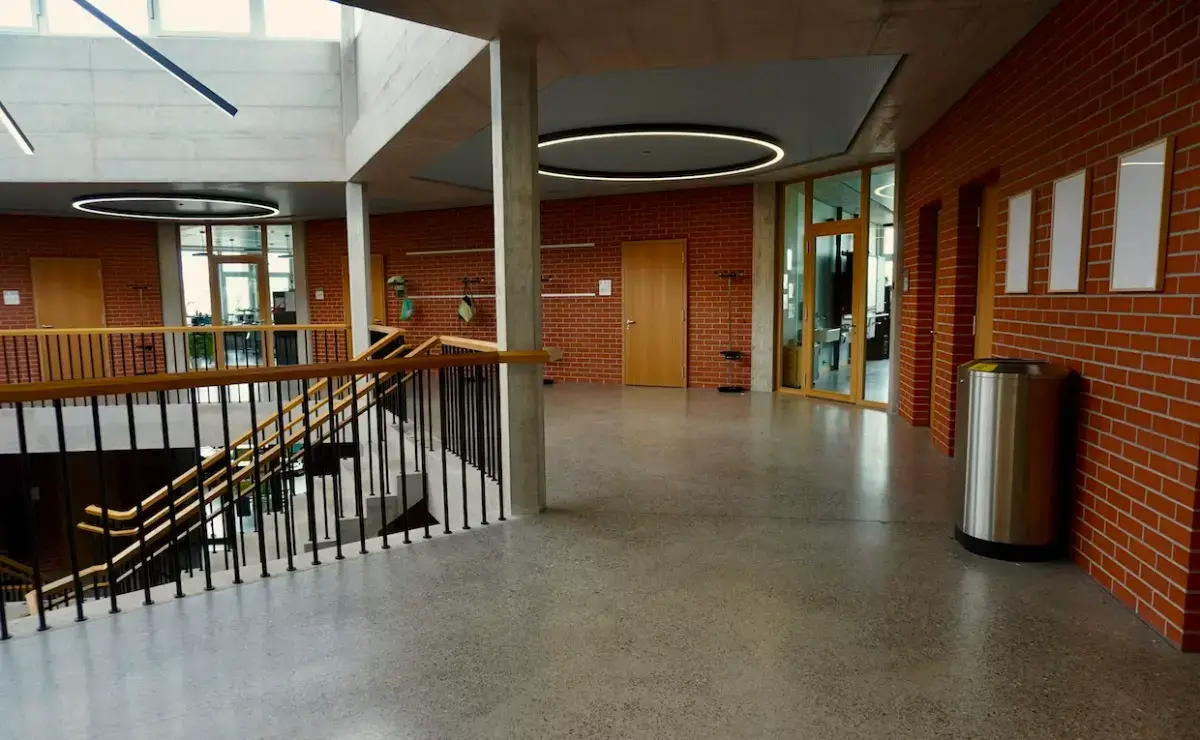
Conclusion
Applying flakes to an epoxy floor is a great way to add flair and personality. With the right tools, materials, and technique, you’ll create a durable and attractive surface that lasts years.
I hope this article has helped guide you through your epoxy flakes floor project. It may seem like a lot of work at first, but once you get into it, I’m sure you’ll find it worth every bit of effort! Contact us if you need customized flooring solutions or other epoxy flooring services.