It’s no secret that 3D epoxy floors are beautiful and luxurious additions to any room in your home or office. The colorful patterns and textures create an eye-catching look that will add visual interest and value to any space. Plus, they’re incredibly durable and long-lasting, so once installed – you don’t have to worry about them for years!
Whether you’re looking for something basic or more intricate, there’s a perfect 3D epoxy floor for everyone. To ensure your project goes smoothly, it’s important to be well-informed before starting your installation journey. What materials are best suited for this type of job, how much preparation work needs to be done, and how to install it? Read on and find out!
Overview Of 3D Epoxy Flooring
Epoxy flooring is a popular option for any type of indoor space. 3D epoxy flooring adds an extra element of depth to the look and feel of your floors, making them more aesthetically pleasing than traditional options.
When choosing the right type of 3D epoxy flooring, several varieties exist. Depending on where you install your epoxy flooring, some may work better than others. For instance, a non-slip epoxy coating could be needed if you’re looking for slip-resistant surfaces in wet areas such as bathrooms or kitchens. On the other hand, if aesthetics are your priority, metallic epoxies provide stunning finishes with reflective qualities that reveal details in your design elements.
Benefits of Installing 3D Epoxy Flooring
There are many advantages to installing 3D epoxy floors in your home or business. It’s a durable, long-lasting option that will add value to your property. It’s flexible, so you can customize your floors with this type of material. Maintenance is easy and straightforward.
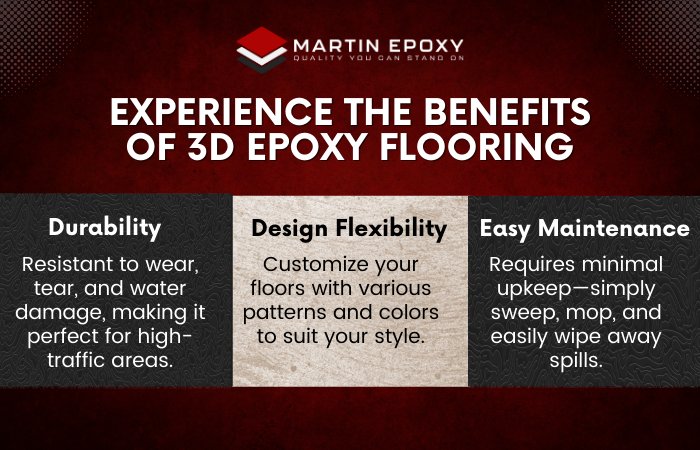
These benefits make 3D epoxy flooring an attractive choice:
- Durable Flooring — This type of flooring is incredibly strong and resilient against wear and tear, which makes them perfect for high-traffic areas such as hallways, entryways, and staircases. Plus, they’re resistant to water damage, so you don’t have to worry about warping or crumbling from moisture exposure over time.
- Design Flexibility — With 3D epoxy flooring, you have plenty of options when customizing your new floors’ style and color. You can choose from patterns like marble or wood grain designs and colors ranging from vibrant blues and greens to classic black and whites.
- Easy Maintenance — The best thing about 3D epoxy flooring is its low maintenance requirements; you only need occasional sweeping and mopping with a mild soap solution for regular cleaning. And if there are ever spills or stains on the surface, simply wipe them away with a damp cloth – no scrubbing necessary!
3D epoxy flooring provides homeowners with superior durability, design flexibility, easy maintenance, and long-lasting value – all at an affordable cost. Whether renovating your home or building a new office space, this type of floor covering has everything you need to do the job correctly.
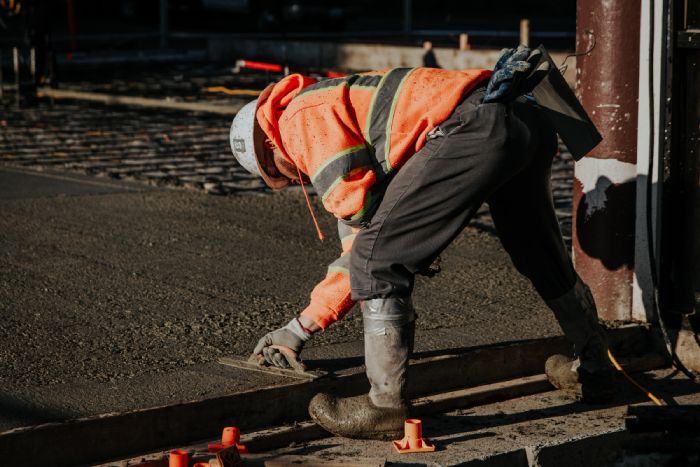
Preparation for 3D Epoxy Flooring Installation
Preparation is key for successful 3D epoxy flooring installations and will ensure a long-lasting, durable finish. Surface preparation involves cleaning the substrate before applying any adhesive or coating. It is important to remove any dirt, dust, grease, oil, or other foreign particles, as these can affect adhesion and result in premature failure of the system.

- Assess the substrate — Examine the substrate’s condition or existing floor surface where you plan to install the 3D epoxy flooring. Ensure it is structurally sound, clean, and free of any cracks, unevenness, or moisture issues. Repair any damages or address any underlying issues before proceeding.
- Gather the necessary tools and materials — List all the tools and materials required for the installation process. This may include epoxy resin, hardener, pigments or dyes, mixing buckets, mixing tools, a leveling compound (if needed), a roller or brush for application, protective gear (gloves, goggles, mask), and any decorative elements like 3D stickers or images.
- Prepare the surface — Thoroughly clean the floor to remove any dirt, dust, grease, or contaminants hindering adhesion. Use a suitable cleaner or degreaser, and rinse the surface thoroughly. Allow the floor to dry completely before moving on to the next step.
- Prime the surface — Applying a primer coat is essential for promoting adhesion and preventing air bubbles from forming during the epoxy installation. Choose a primer compatible with the epoxy resin system you plan to use. Follow the manufacturer’s instructions for mixing and application, and allow the primer to dry completely.
Lastly, make sure all safety precautions are taken before beginning any project, such as eye protection and gloves when mixing chemicals or wearing respirators when using spray paints in enclosed spaces.
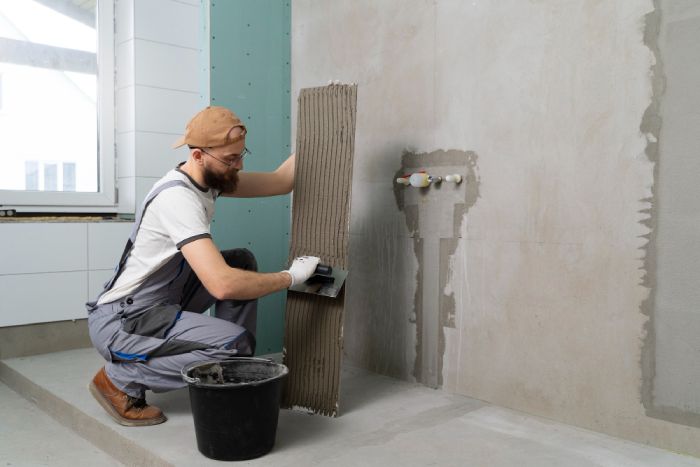
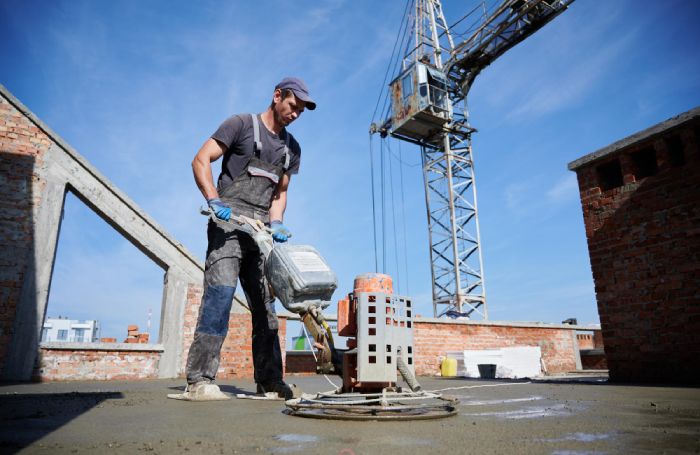
Step-By-Step Installation Instructions
Installing 3D epoxy flooring is relatively straightforward, but doing the job correctly is essential. It’s vital to keep things neat during installation, so wear gloves when handling materials and use protective gear while applying epoxy. Additionally, ensure proper ventilation throughout the entire process – if necessary, consider using fans or open windows/doors for better air circulation.

- Ensure that all surfaces are clean and free of debris or other contaminants.
- Determine how much material you need to cover your space – this depends on size and shape.
- Once you have established the amount needed, prepare the area for installation by ensuring that the surface is level and any irregularities are addressed.
- Finally, mix a batch of epoxy according to the instructions and apply it in an even layer over your prepared surface.
- Allow adequate curing time before walking on the newly installed 3d epoxy flooring – typically, 24 hours should suffice!
Caring for 3D Epoxy Flooring
After you have installed your 3D epoxy flooring, keeping up with basic cleaning and maintenance routines is essential to preserve its brilliance. With proper care and preventative measures, you can ensure that your flooring will remain strong against wear-tear without any major issues for years.
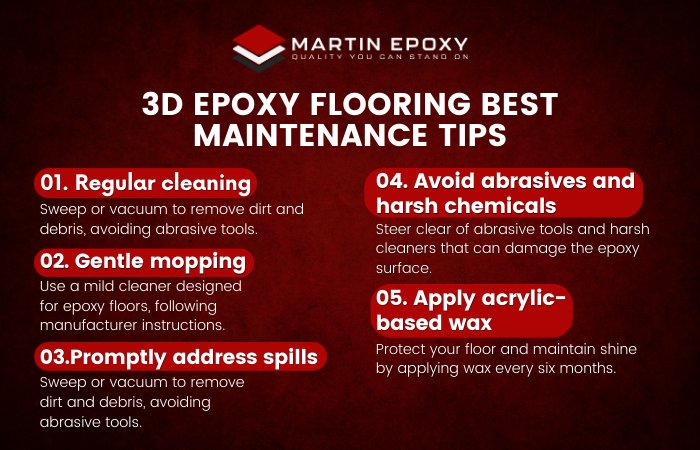
- Regular cleaning — Regularly sweep or vacuum the surface to remove dirt, dust, and debris that can scratch or dull the epoxy finish. Use a soft-bristle broom or a vacuum cleaner with a soft brush attachment to avoid damaging the surface.
- Mop with a gentle cleaner — Periodically mop the floor using a mild, pH-neutral cleaner specifically designed for epoxy flooring. Avoid harsh or abrasive cleaners, as they can damage the epoxy finish. Dilute the cleaner according to the manufacturer’s instructions, and use a soft mop or microfiber cloth for gentle cleaning.
- Address spills and stains promptly — Wipe up spills immediately to prevent staining. Use a soft cloth or paper towel to blot the spill rather than rubbing it, as rubbing may spread the stain. For stubborn stains, you can use a mild detergent mixed with water and gently scrub the affected area.
- Avoid abrasive materials and chemicals — Avoid using abrasive cleaning tools such as steel wool or scrub brushes with stiff bristles, which can scratch or dull the epoxy surface. Also, avoid using harsh chemicals, acidic cleaners, or solvents, as they can damage the epoxy coating. Stick to gentle cleaning products that are safe for epoxy floors.
- Reapply protective top coats (if necessary) — Over time, the top coat of the epoxy floor may wear down due to foot traffic or other factors. If you notice areas where the top coat has become thin or worn, consider reapplying a protective top coat as the manufacturer recommends.
Protecting your 3D epoxy flooring is also recommended by applying an acrylic-based wax every six months. Doing this will help maintain shine and reduce scuff marks caused by foot traffic and furniture movement.
Conclusion

Installing 3D epoxy flooring is a great way to add style and durability to your home or business. You can enjoy beautiful results that will last for years with proper preparation, easy-to-follow instructions, and the right care routine. Remember to take all necessary safety precautions when working with epoxy materials and follow the manufacturer’s guidelines.
We hope this article has provided an overview of 3D epoxy flooring, its benefits, installation steps, and troubleshooting tips. Contact us if you need high-quality workmanship or require intricate epoxy flooring installation.