Do-it-yourself concrete coatings are a great way to bring new life and color into your home or business. With just a few simple supplies, you can transform the look of any space cheaper and faster. So whether you’re looking for an inexpensive upgrade for a patio or want to give your driveway a facelift, cement coatings are the perfect solution.
In this article, I’ll discuss my opinions about concrete coatings. You’ll learn which coating types are most effective in various settings, what supplies and equipment are required, and tips and techniques that will make the task simpler and more productive.
Definition of Concrete Coatings
Concrete surfaces can be preserved and have their appearance enhanced with the application of concrete coatings and staining. It helps protect against wear and tear, reduces maintenance costs, and increases the lifespan of concrete structures. The definition of concrete coatings is simple; it is any material applied to the surface of the concrete to provide protection, decoration, or both.

Common materials used in cement coatings include epoxy resins, polyurethane resin, acrylics, rubberized asphalt emulsions, elastomeric coatings, and water-based latex paints. The purpose behind using these materials on concrete surfaces varies greatly depending on the specific application. In some cases, they can be used for decorative purposes, such as painting designs onto sidewalks or patios or staining the flooring in a garage or basement.
In other instances, they may be used to waterproof outdoor decks or patio areas that have been exposed over time to harsh weather conditions like rain and snowfall. No matter what kind of application is required for your project, one thing remains true; proper preparation before applying any form of protective coating is essential if you want lasting results from your DIY concrete coatings projects.
Without it, you risk damage due to improper adhesion between the underlying substrate and the chosen finish product. With careful consideration towards selecting appropriate products, processes, and techniques, though – DIYers can achieve professional-looking results without spending too much money!
Benefits of DIY Concrete Coatings
DIY cement coatings offer a wide range of advantages. Here are some of the best benefits you need to know:
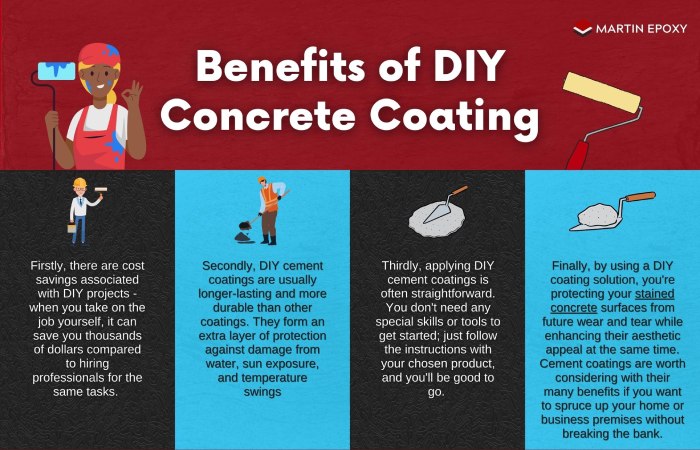
- Firstly, there are cost savings associated with DIY projects – when you take on the job yourself, it can save you thousands of dollars compared to hiring professionals for the same tasks.
- Secondly, DIY cement coatings are usually longer-lasting and more durable than other coatings. They form an extra layer of protection against damage from water, sun exposure, and temperature swings.
- Thirdly, applying DIY cement coatings is often straightforward. You don’t need any special skills or tools to get started; just follow the instructions with your chosen product, and you’ll be good to go.
Finally, by using a DIY coating solution, you’re protecting your stained concrete surfaces from future wear and tear while enhancing their aesthetic appeal at the same time. With its many benefits, cement coatings are worth considering if you want to spruce up your home or business premises without breaking the bank.
Preparation Steps for Applying Concrete Coatings
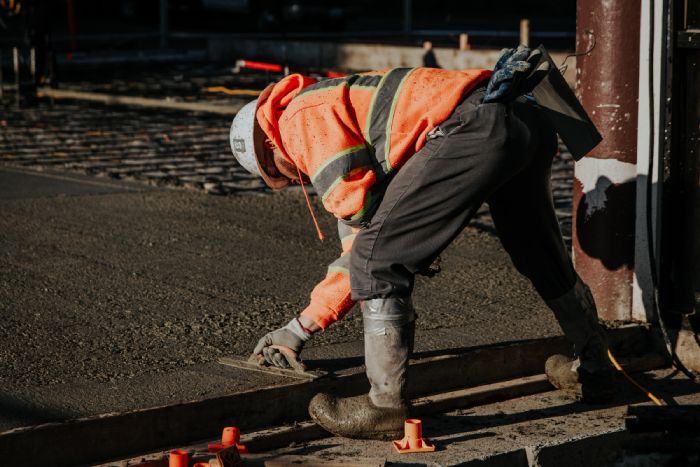
Preparing the concrete surface for a coating is an important step in ensuring success. However, it’s best to do this properly before starting any project, as it can mean the difference between a long-lasting result and one that requires renovation sooner than expected. To ensure you’re taking all necessary steps when preparing your surface, follow these guidelines:
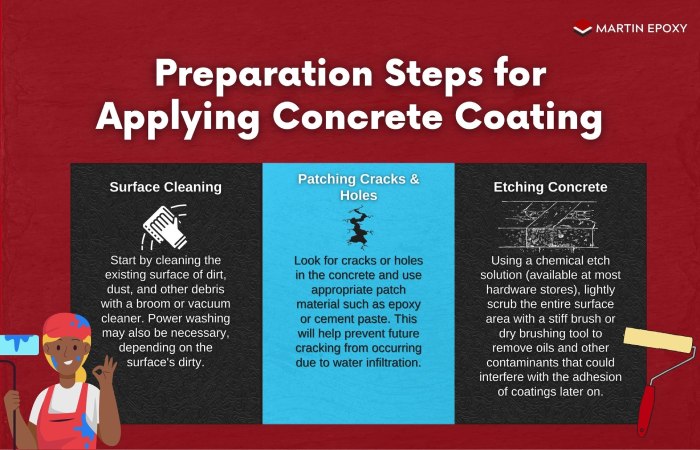
- Surface Cleaning: Start by cleaning the existing surface of dirt, dust, and other debris with a broom or vacuum cleaner. Power washing may also be necessary, depending on the surface’s dirty.
- Patching Cracks & Holes: Look for cracks or holes in the concrete and fill them up using appropriate patch material such as epoxy or cement paste. This will help prevent future cracking from occurring due to water infiltration.
- Etching Concrete: Using a chemical etch solution (available at most hardware stores), lightly scrub the entire surface area with a stiff brush or dry brushing tool to remove oils and other contaminants that could interfere with the adhesion of coatings later on.
Types of Materials Needed
When it comes to DIY concrete coatings, having the right materials is essential. Various products are available for use in seal coating over concrete surfaces, and each has its own advantages and disadvantages. To help you make an informed decision about which type of material best suits your project, here’s a breakdown of some popular options:
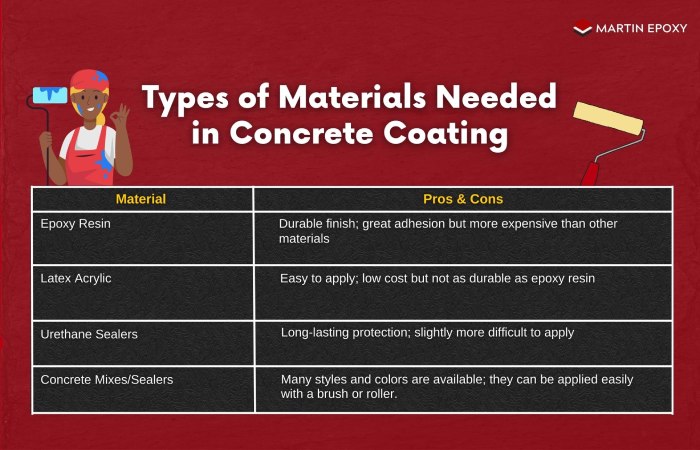
| Material | Pros & Cons |
| Epoxy Resin | Durable finish; great adhesion but more expensive than other materials |
| Latex Acrylic | Easy to apply; low cost but not as durable as epoxy resin |
| Urethane Sealers | Long-lasting protection; slightly more difficult to apply |
| Concrete Mixes/Sealers | A wide range of styles and colors are available; can be applied easily with a brush or roller |
Step-By-Step Process of Applying Concrete Coatings
Whether you choose epoxy resin, latex acrylic, urethane sealer, or another option, remember that proper surface preparation is key. Make sure any existing coatings are removed before applying the new one – this will ensure long-term durability. Always read instructions thoroughly before beginning work on your project! With these tips in mind, you’re ready to select the perfect product for your job.

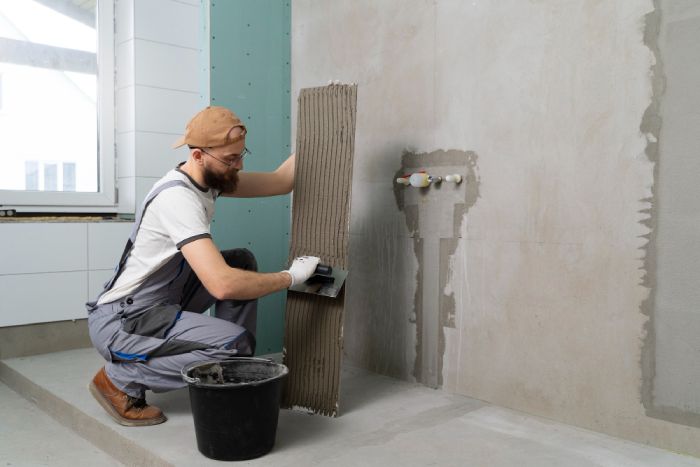
Applying concrete coatings can be a fairly straightforward process if you know what materials and steps to take. However, getting the best results means taking the time to properly prepare the surface before applying your chosen concrete coatings. Here are some step-by-step instructions for doing it yourself with success:
- First, start by preparing the concrete surface. This includes cleaning off any dirt or debris that might interfere with the proper adhesion of your chosen concrete coatings material. You can use a pressure washer, scrubbing brush, and detergent as needed to make sure your surface is squeaky clean and ready for application. Once everything is dry, check for cracks, holes, or other deficiencies before application.
- Next, decide which concrete coatings material to apply to your project. Many options, such as epoxies, acrylics, polyurethanes, and more, offer unique benefits depending on the desired result and level of protection required. Make sure you read up on all product information regarding coverage area per gallon and drying/curing times so you can plan accordingly when selecting your specific product choice.
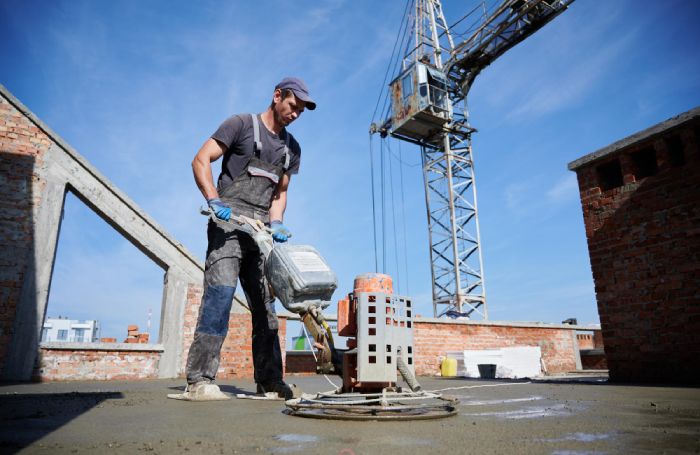
- Once you have selected the right product for your needs, it’s time to get down to business! Follow manufacturer recommendations closely when mixing and applying your concrete coatings material – this will ensure optimal performance and longevity. When using multiple coats, keep an eye out for bubbles that form due to trapped air pockets; these must be eliminated before curing; otherwise, they may cause peeling or cracking of your finished coatings over time.
With careful preparation and attention paid while applying each coat, you should be able to achieve professional-looking DIY results!
Maintenance Tips
Concrete coatings are an excellent way to make your property look great, but they need regular maintenance to keep them looking their best. Fortunately, it’s easy to maintain and protect your concrete coatings with a few simple steps.

- First off, you should clean the concrete surface regularly. This will help prevent dirt buildup and staining that can damage the coating. Use a mild detergent solution and a soft cloth or brush for best results. You may also want to use a pressure washer occasionally for tougher stains or debris.
- If any repairs are needed, it’s important to fix them as soon as possible before further damage occurs. Depending on the type of concrete coatings used, patching materials may be necessary for cracking or chipping. These patches match existing colors so that the repair isn’t noticeable once completed.
- Finally, applying sealant every couple of years helps protect against wear and tear from weather conditions and prevents fading over time.
Conclusion
DIY concrete coatings are a great way for homeowners to save money and improve the look of their homes. You can easily apply your own concrete coatings with proper preparation, materials, and technique. The result will be an attractive and durable surface that will last through the years with minimal maintenance.
My advice? Take the time to do it right! Please read up on all the necessary steps, buy quality materials, and follow them closely. Once you’ve applied your DIY concrete coatings, take good care of it by cleaning regularly and resealing it every few years as needed. You’ll have a beautiful finish that will impress your friends and neighbors and add value to your home.
DIY concrete coatings can transform your dull concrete surfaces into stunning, durable, and easy-to-maintain floors. With the right tools and techniques, you can achieve a professional-looking finish without breaking the bank. However, if you feel you need more confidence doing it yourself or want to ensure a flawless finish, consider hiring a professional like Martin Epoxy.
We have the expertise, equipment, and quality materials to deliver outstanding results that last. So don’t settle for less. Contact us to upgrade your floors with Martin Epoxy today!